


In today’s world, having a digital presence is often a high priority need for animal sanctuaries of all kinds looking for public support. Beyond maintaining information-sharing platforms like a website and newsletter, supporters often expect sanctuaries to keep a robust social media presence to keep them up to date on their residents, events, news, and more. Often, sanctuary updates include media in the form of photos and short videos. Effective visual storytelling can help many causes at a sanctuary, from fundraising and audience-building, demonstrating a sanctuary’s excellent practices and transparency, and even improving prospects for adoptions and sponsorships of residents.
For sanctuaries who don’t have the budget or a volunteer with a creative eye, it can be daunting to look at what other organizations are doing and get started with pictures and videos, but with some simple guidelines, any sanctuary can start creating effective media to share!
The Basics Of Taking Great Photos & Videos
While there are many great resources online for the basics of taking good photos and videos for beginners, we wanted to touch upon a few of the key factors in taking an effective photo or video specifically at animal sanctuaries. The following principles are just as important for a caregiverSomeone who provides daily care, specifically for animal residents at an animal sanctuary, shelter, or rescue. snapping photos with a phone as for a professional photographer taking promotional pictures for a sanctuary. With a little practice, we know your sanctuary photos and video footage will truly shine!
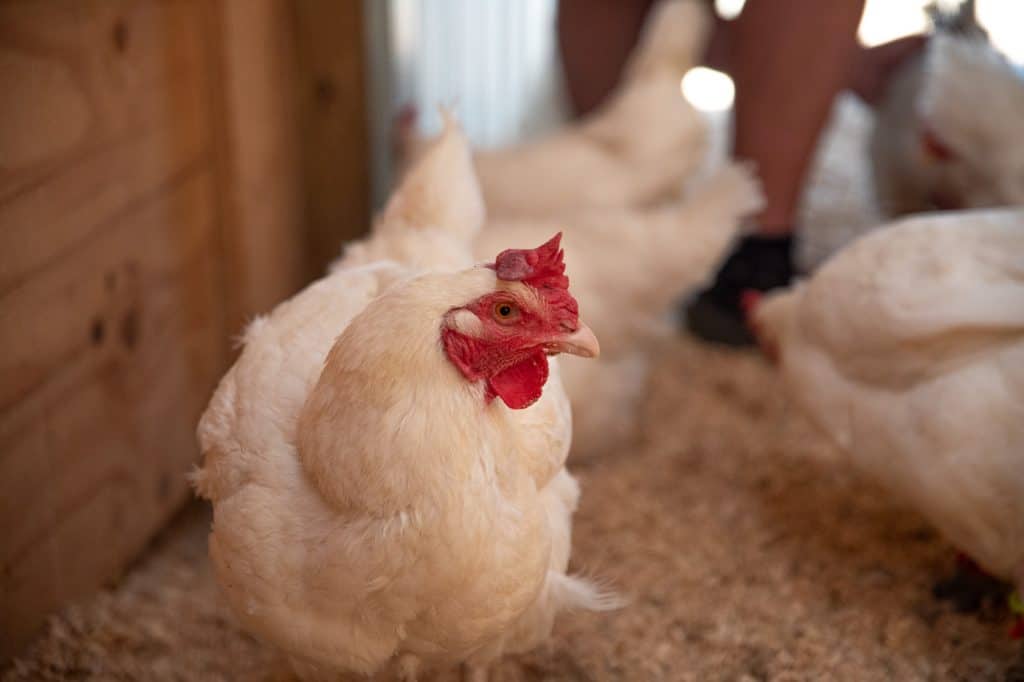
Getting It In Focus
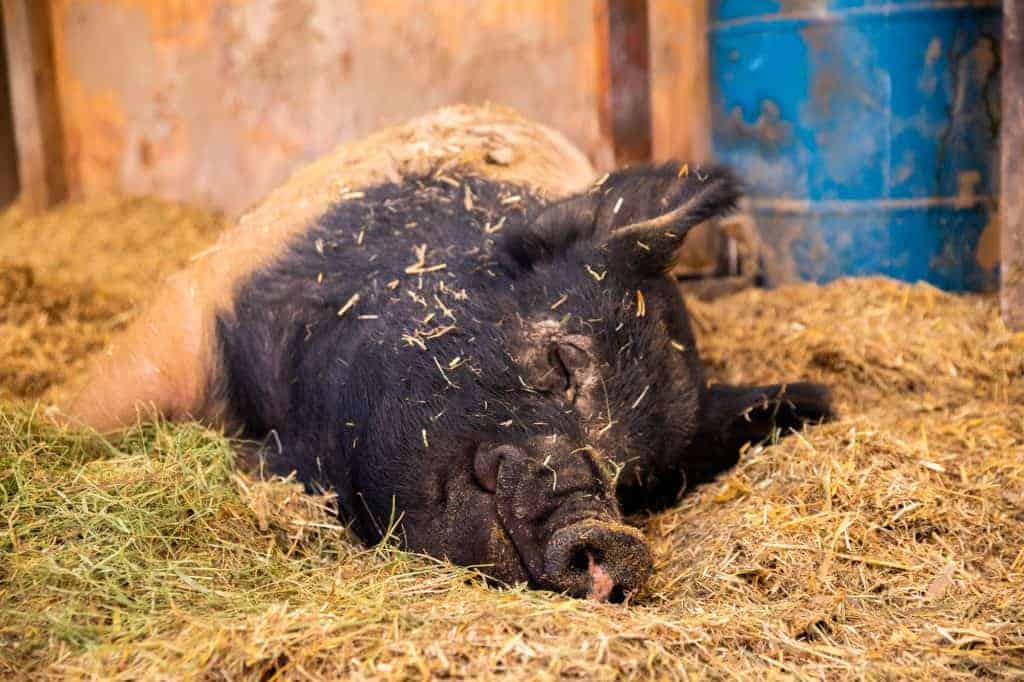
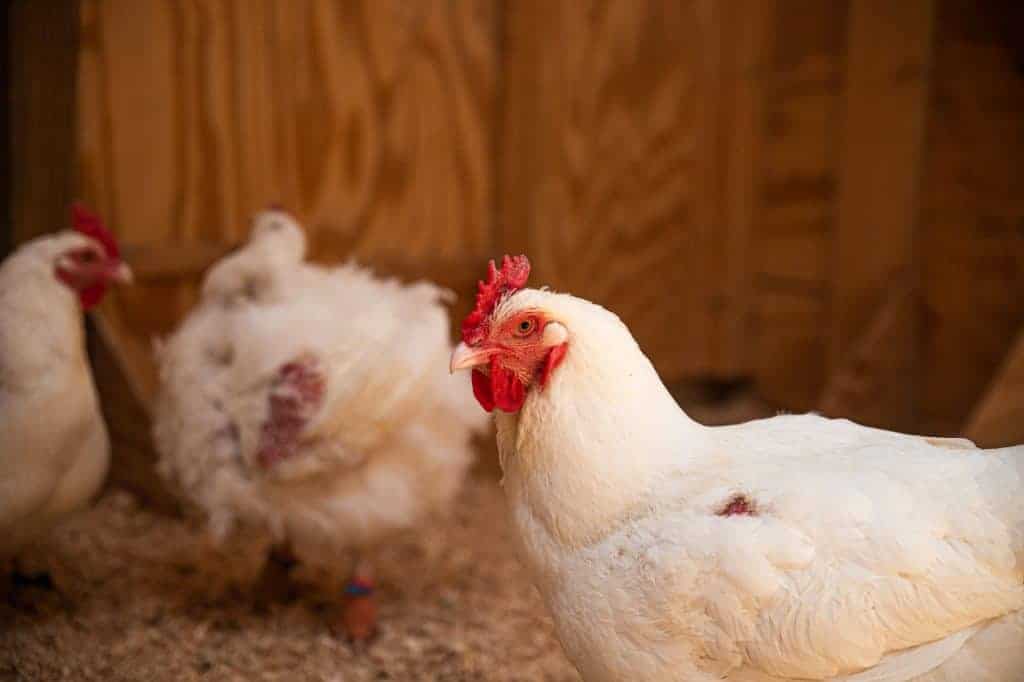
Making sure your shots are in focus is one of the most important parts of a good photo or video!

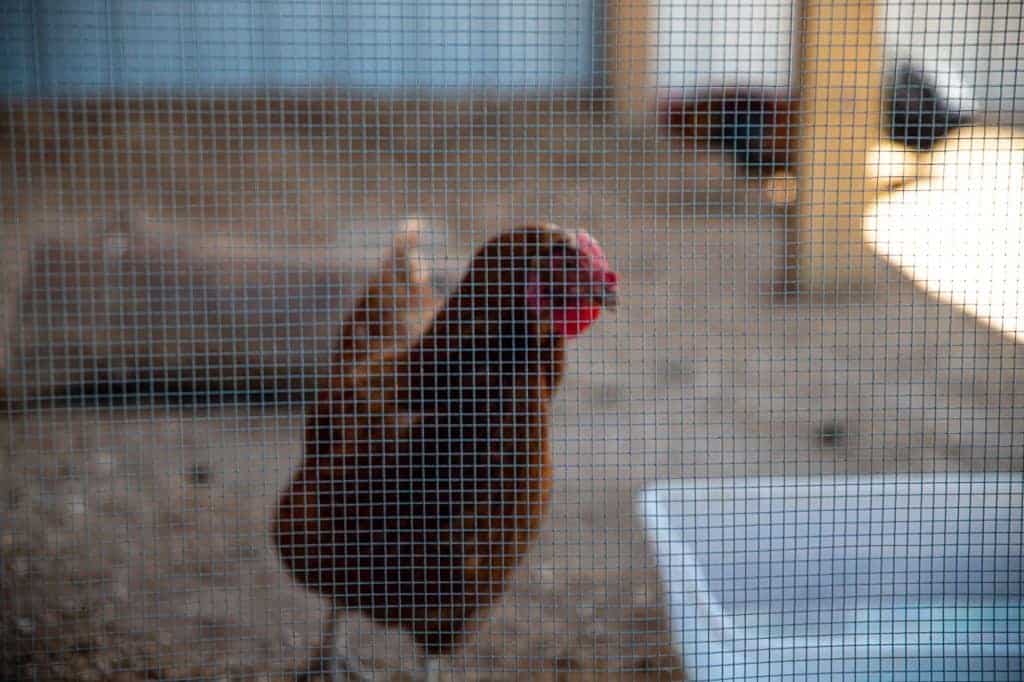
Most modern cameras will do their part to automatically give you the best focus possible, but if you are shooting for a more artistic, shallow focus look (also known as a larger aperture), make sure to ensure that an individual’s eyes, at the very least, are in focus. If a photo or video is excessively blurry, it’s better to try taking a new photo or video clip than spending a tremendous effort trying to artificially sharpen it with photo or video editing software.
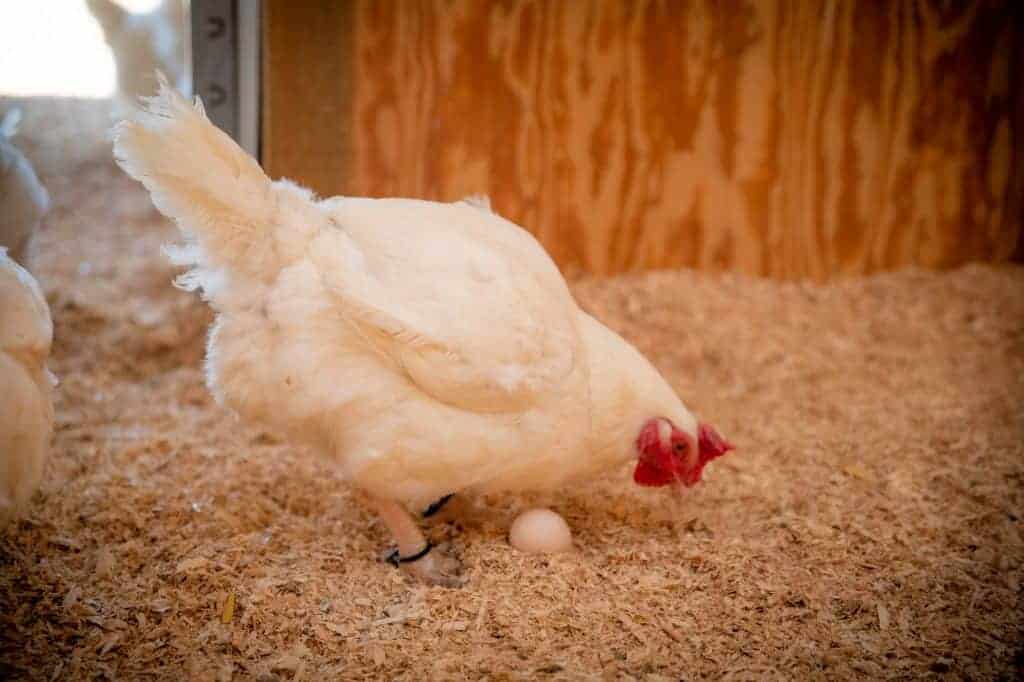
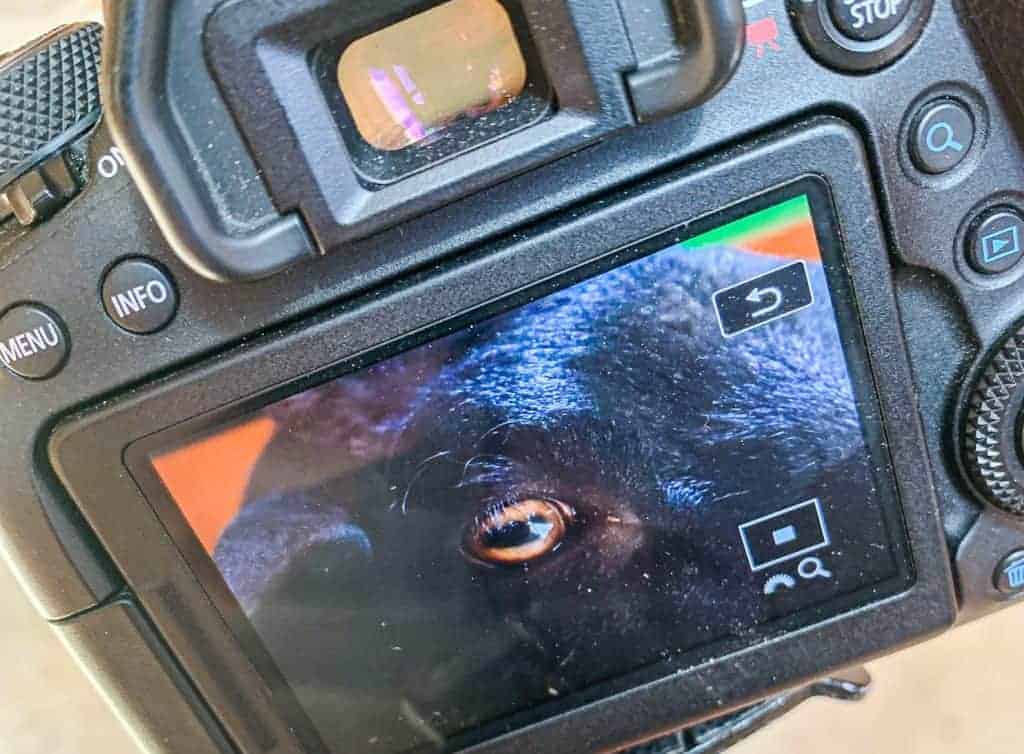
If you aren’t sure whether you’re in focus, take a practice photo and review it in the camera! Nearly every digital camera will allow you to quickly zoom in when reviewing a photo to make sure it came out as sharp as you had hoped it would.
Framing
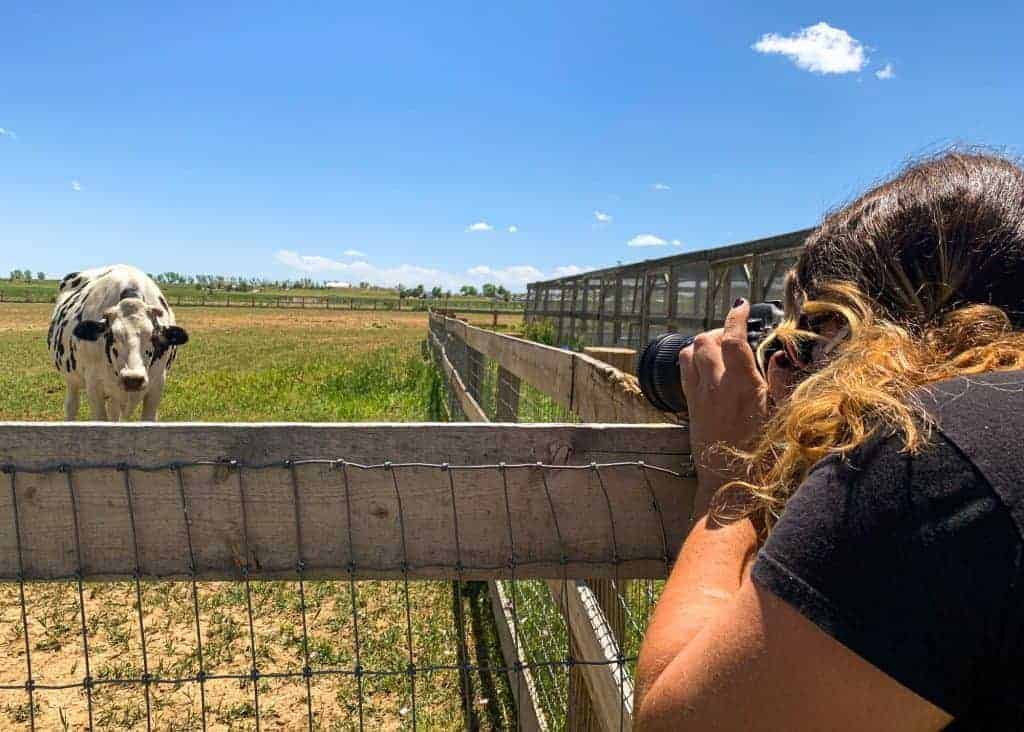
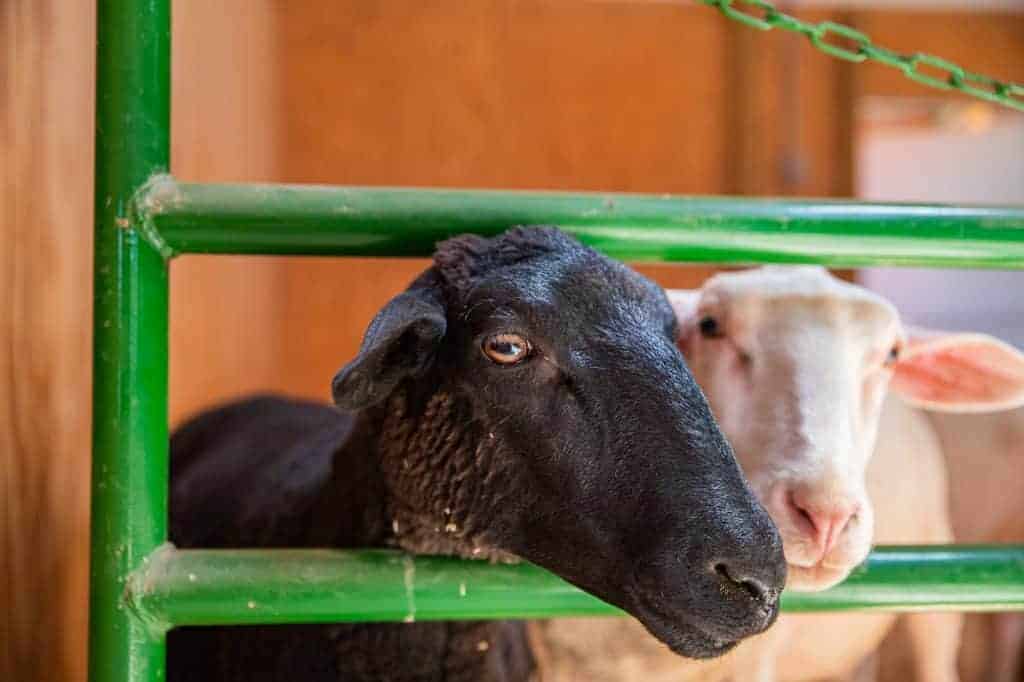
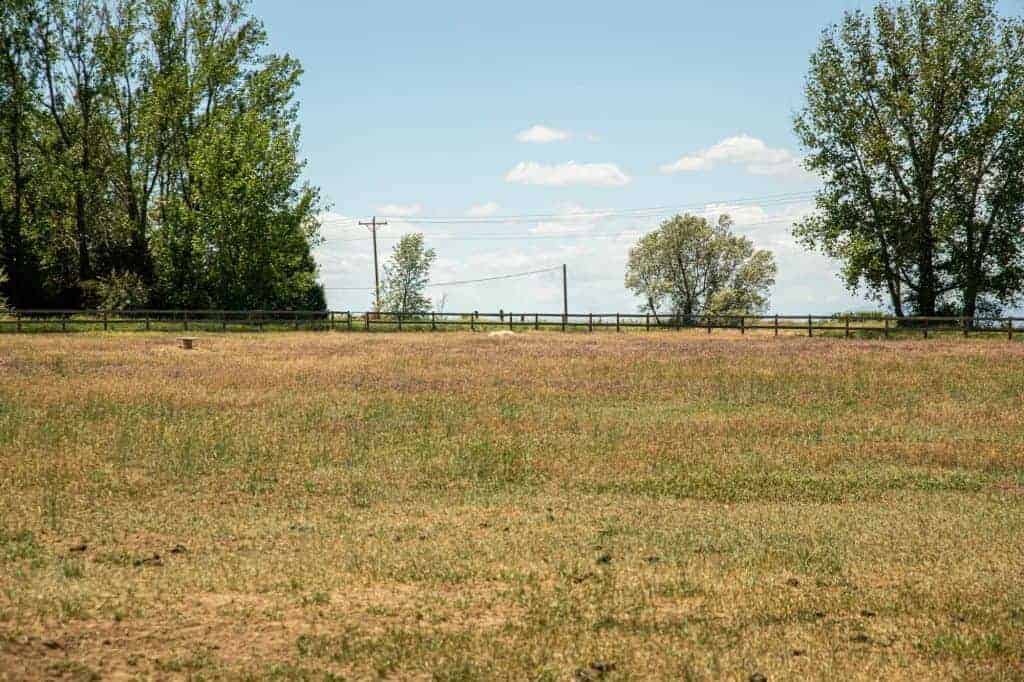
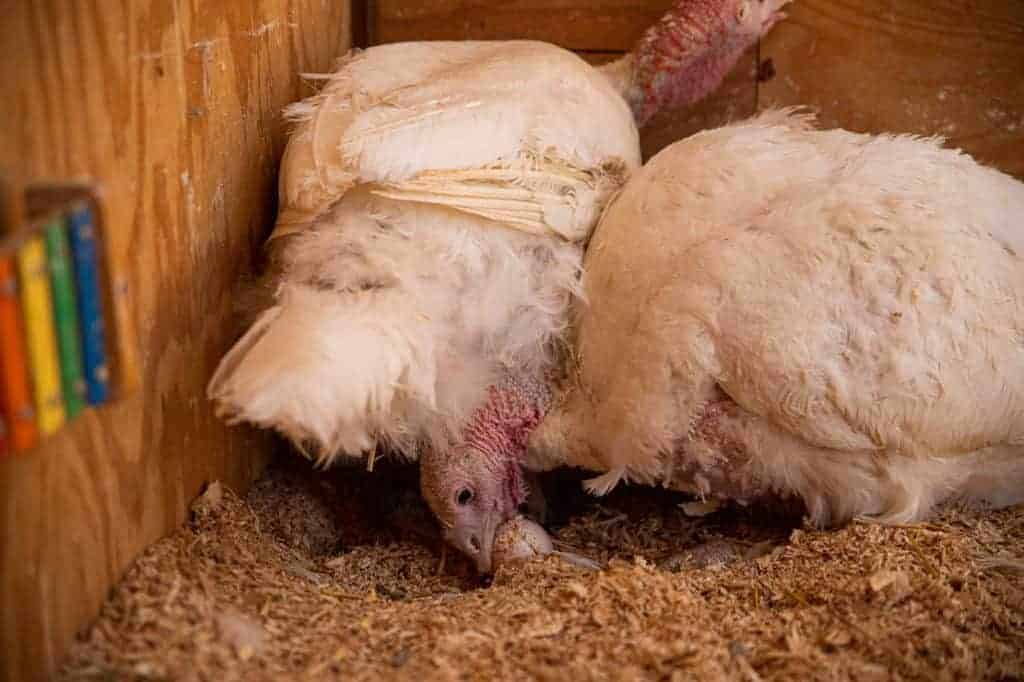
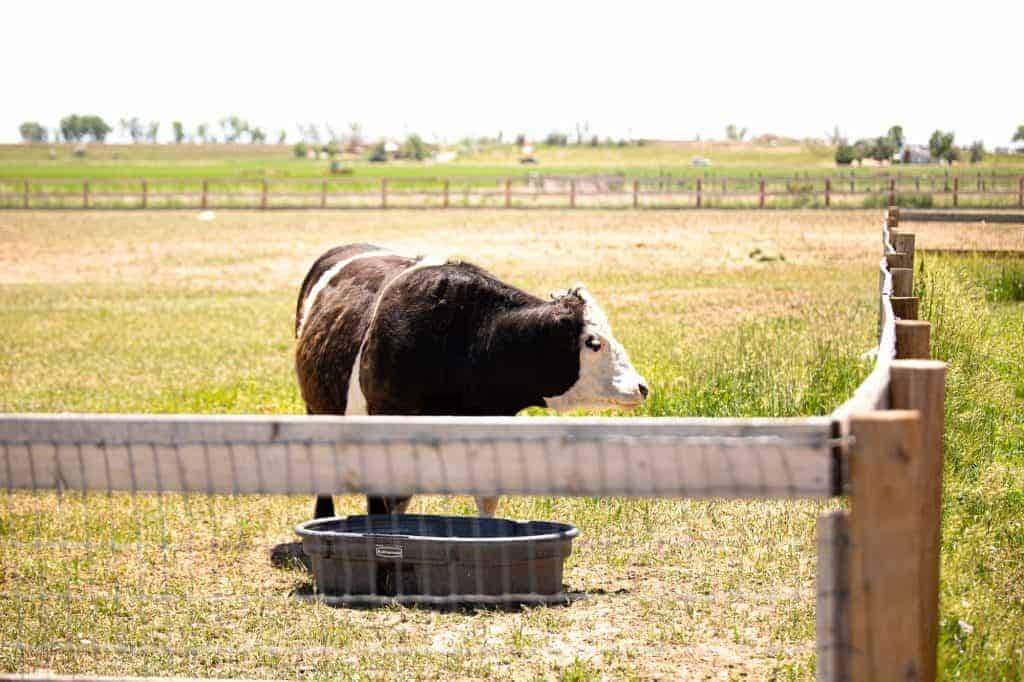
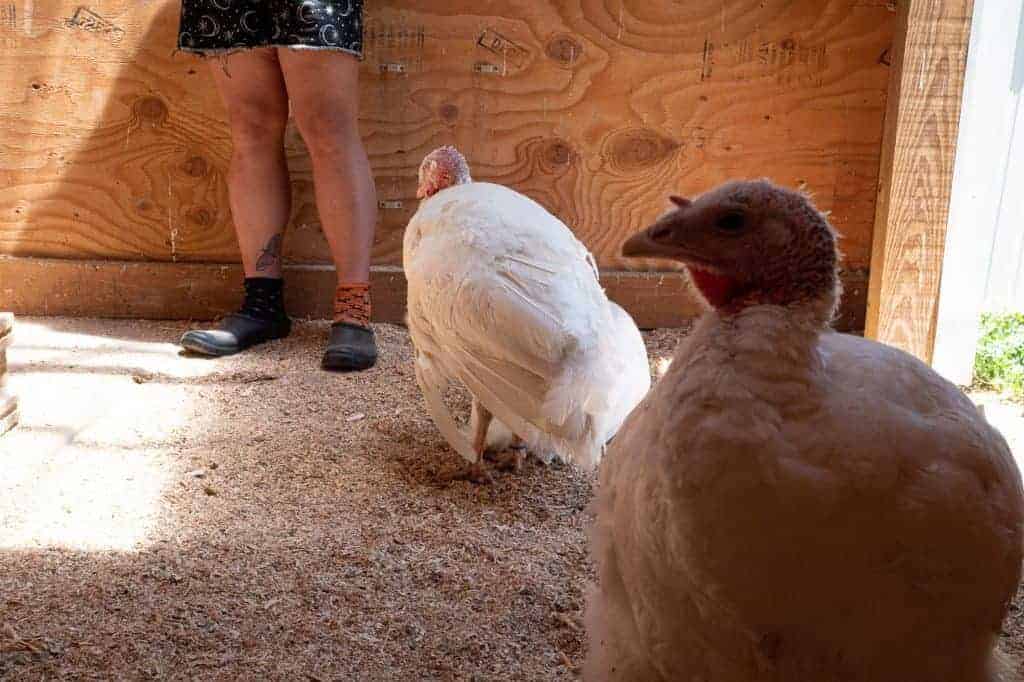
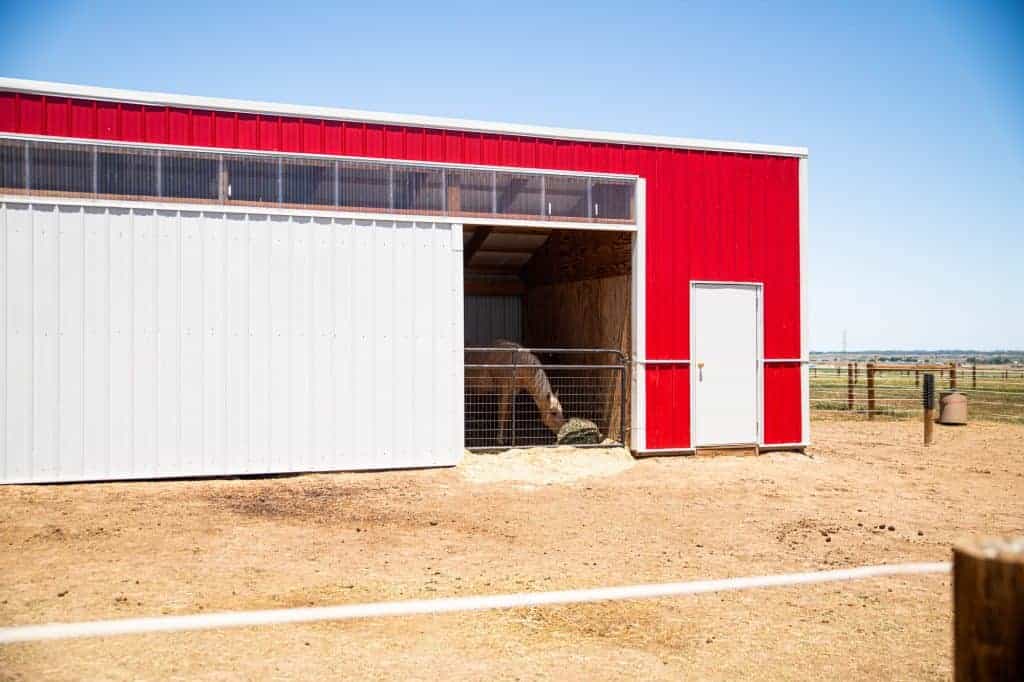
Rather than taking photos and videos from far away (unless that distance is part of the story you’re trying to convey), it’s better to get as close as possible to showcase residents and activities clearly. A closer photo will end up clearer and more pleasant to look at than one that is taken from far away and cropped in for a social media share.
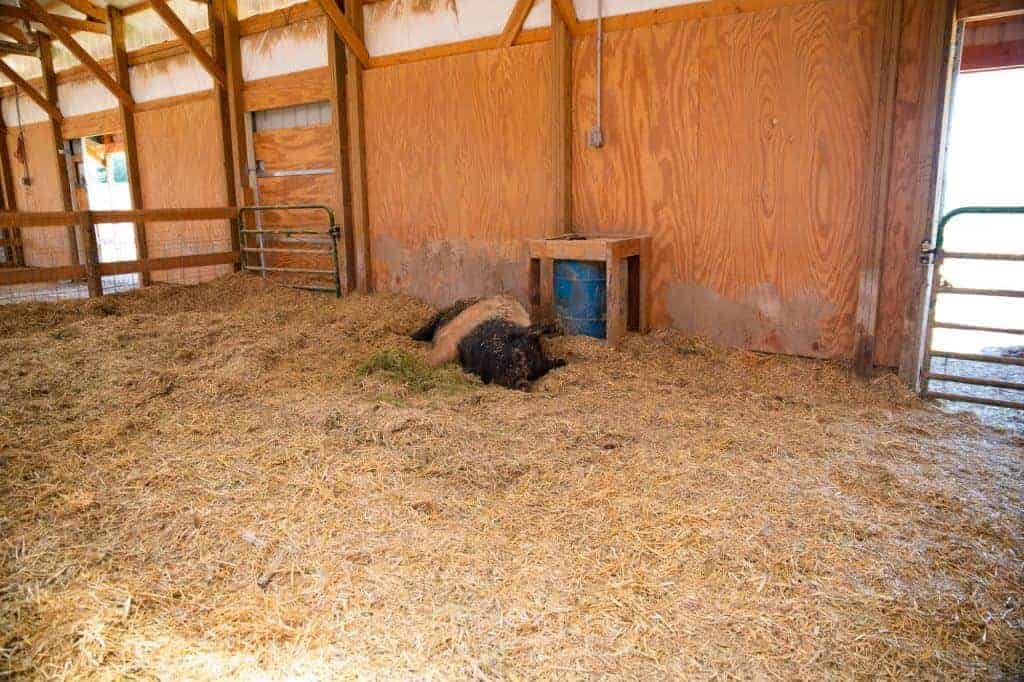
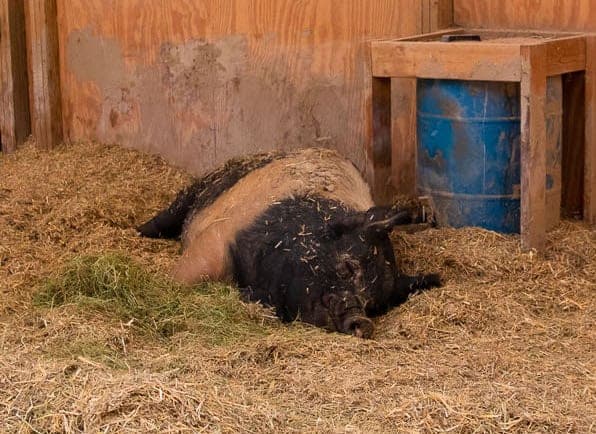
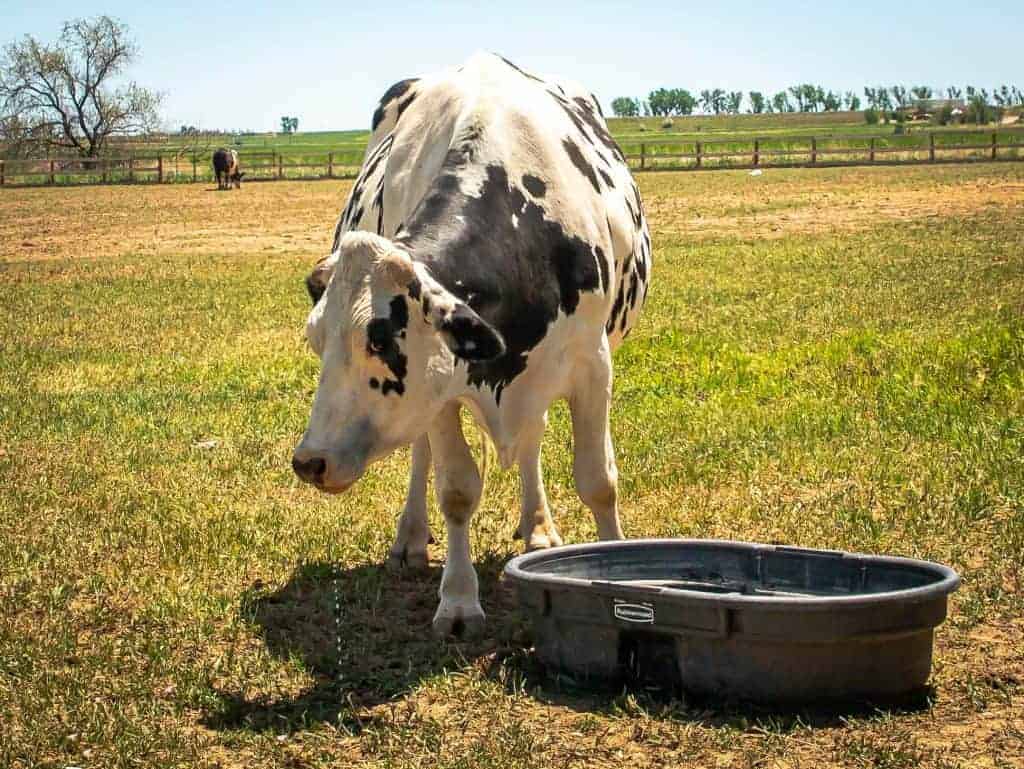
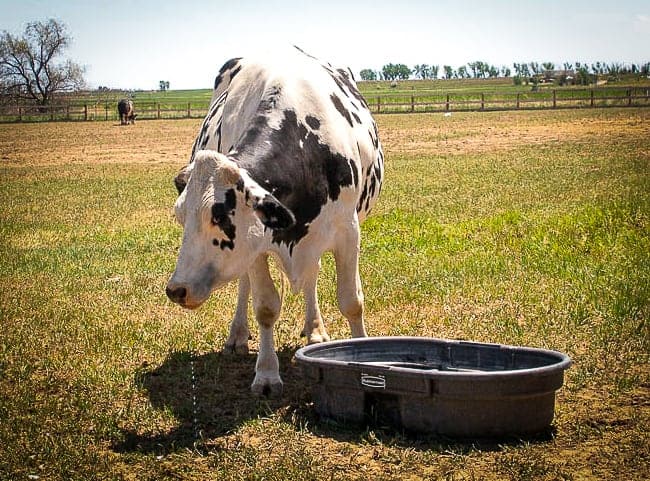
Of course, all media should take the individual into account as well; a resident who is frightened of humans or cameras shouldn’t be forced to interact with a photographer for the benefit of an audience, so maybe a more timid cowWhile "cow" can be defined to refer exclusively to female cattle, at The Open Sanctuary Project we refer to domesticated cattle of all ages and sexes as "cows." resident would prefer to be filmed peacefully grazing in a far pasture than being interrupted. Alternatively, maybe you know that by getting closer you’ll interrupt a special moment, and in that case, a photo or video from further away would also make sense.
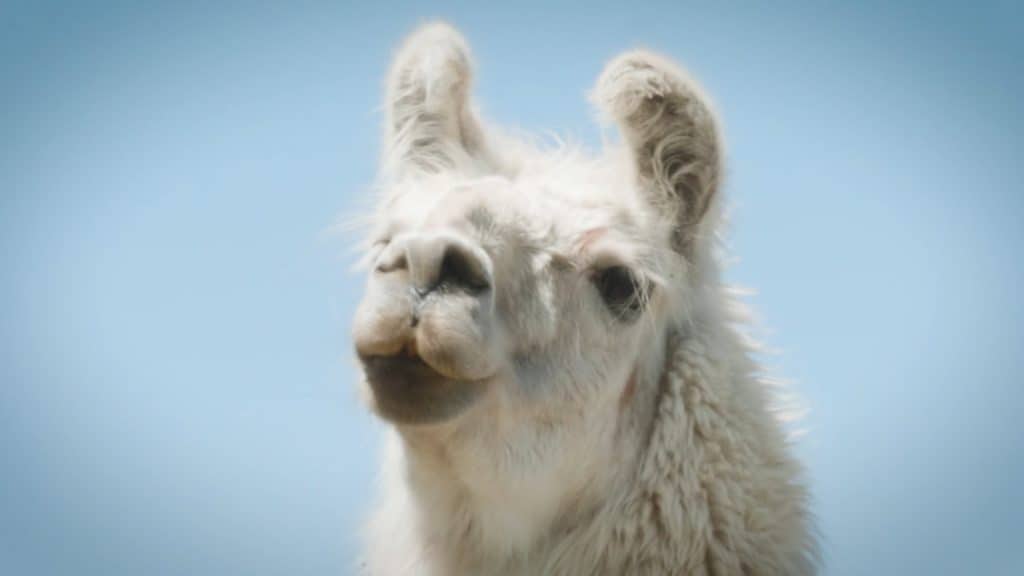
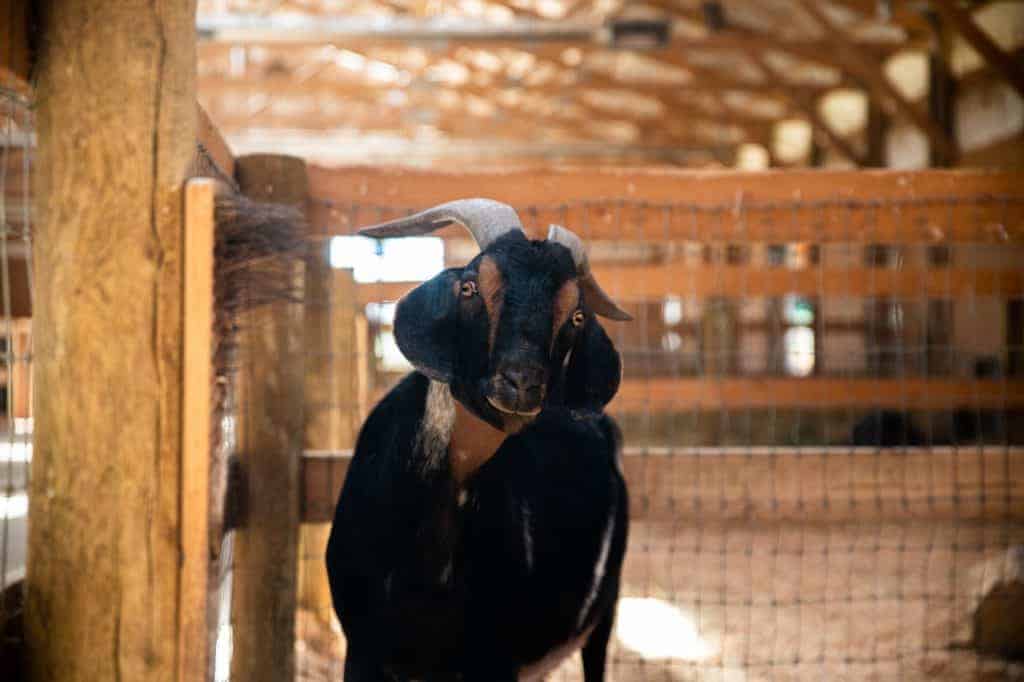
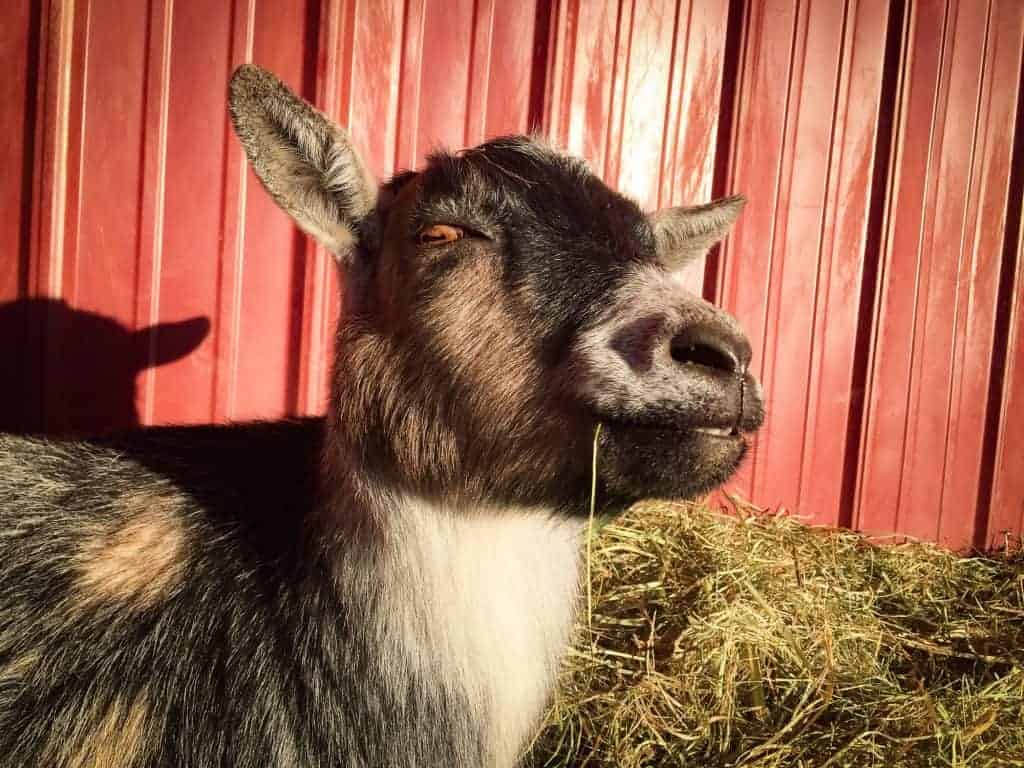
Joining A Resident’s Perspective
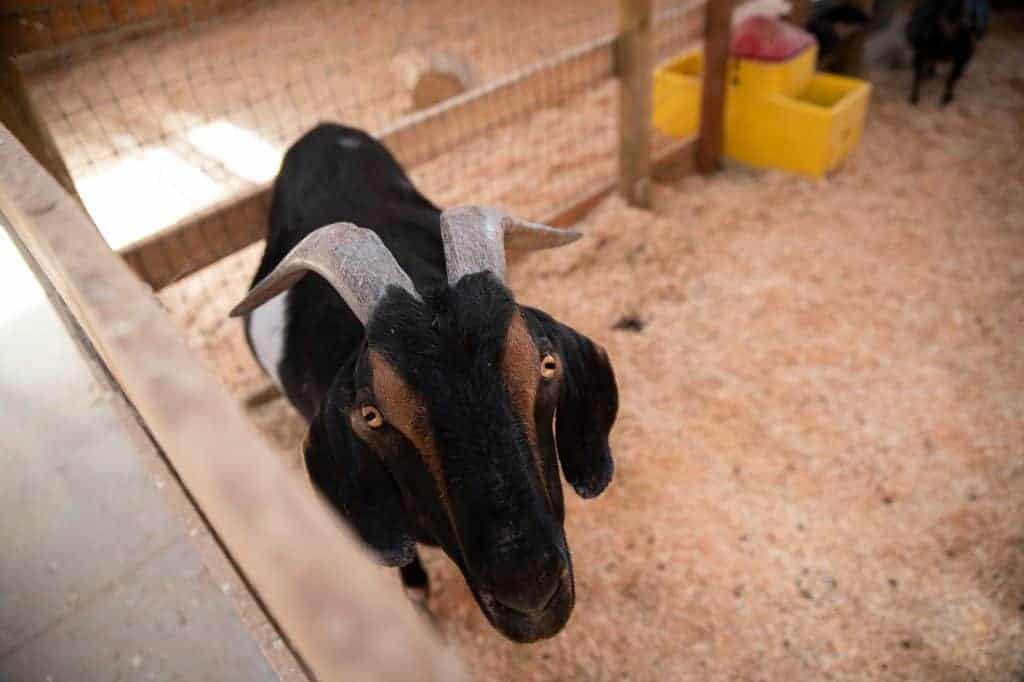
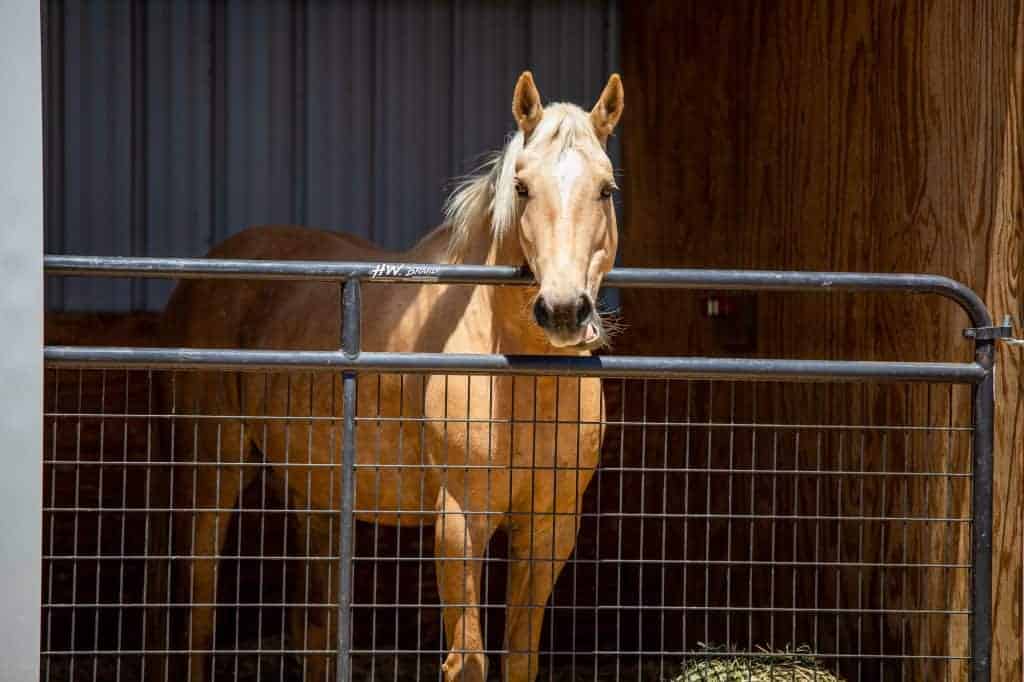
If safe and comfortable for all parties involved, you should get down to the level of an individual resident when taking images of them. Photos and videos are typically more compelling with this framing, rather than looking down at anyone (which can also, incidentally, create an unintended effect of “looking down” in a judgmental sense).

Consider each individual you’d like to take media of: Who are they? What do they do? What do they enjoy? What do you wish your audience or supporters could see? Having a relationship with a resident can make it easier to get amazing photographs and videos of them. Sometimes even the most photographically-inexperienced caregivers can get the most compelling photos and videos of residents who they work with each day, because they have a sense of when they’ll be the most photogenic.
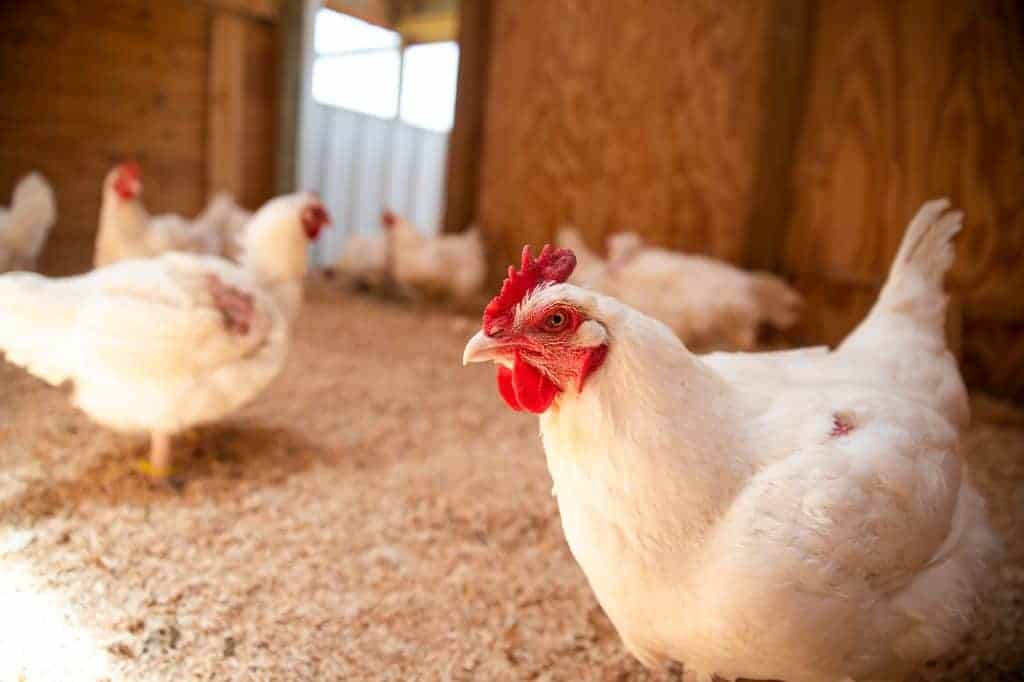
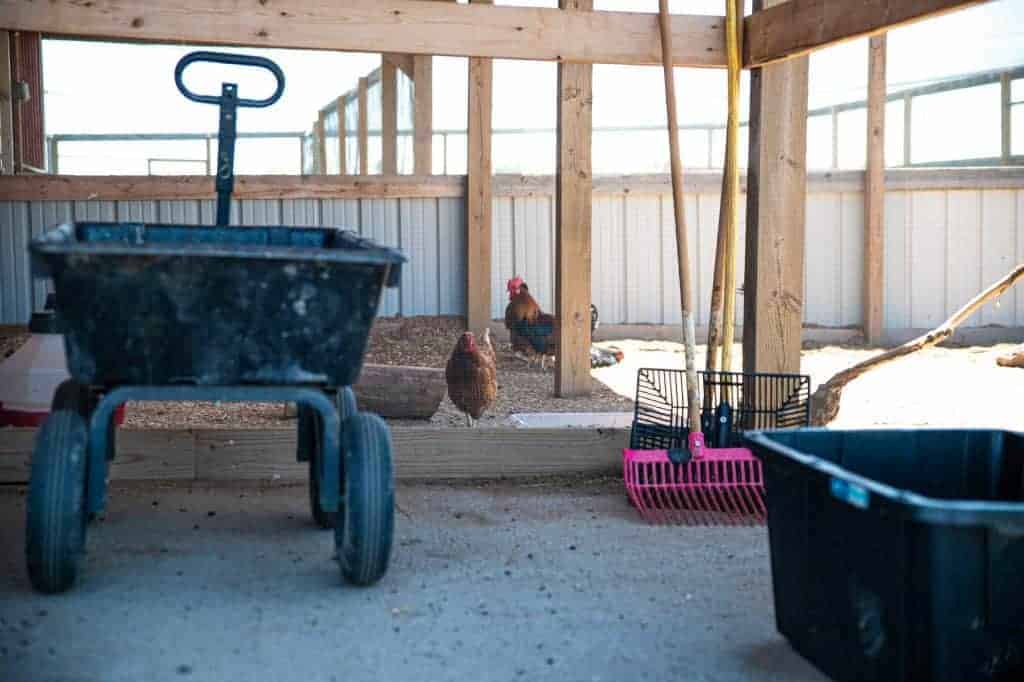
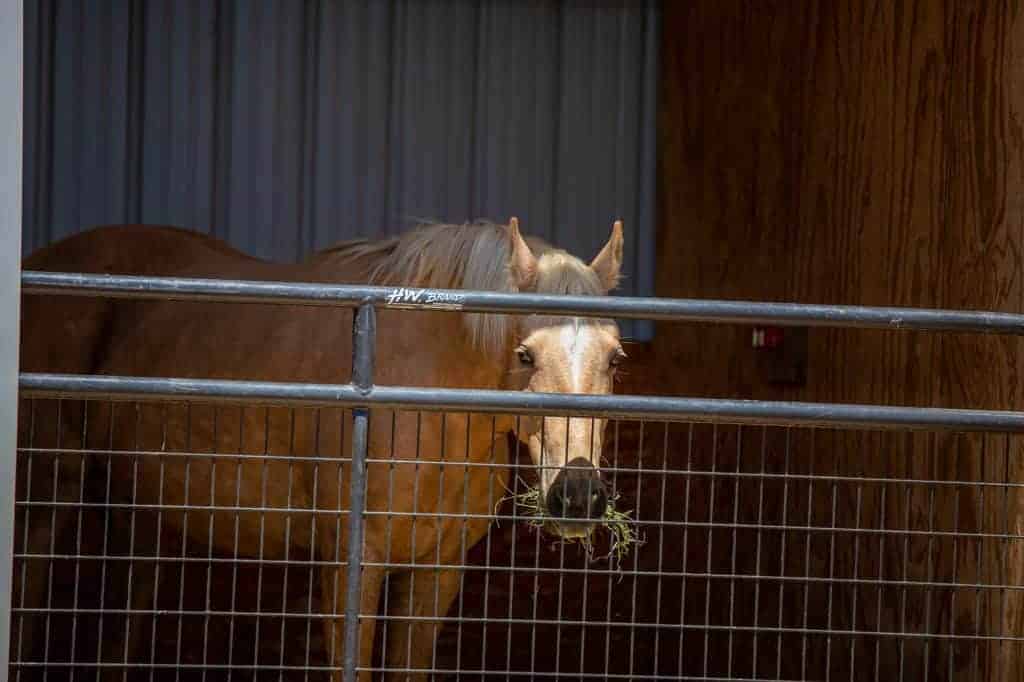
What’s In The Background?
A big part of framing is taking a look at the rest of a photo, including the background of the subject you’re trying to capture. Is your resident surrounded by a jumble of equipment? A beautiful wheat field? A visitor who doesn’t want to be a part of the photo? The more you can frame in or out of a photo to get the best effect while taking the picture, the less of a headache you’ll have trying to cropA crop is a pouched enlargement of the esophagus of many birds that serves as a receptacle for food and for its preliminary maceration. or hide things you’d rather not showcase.
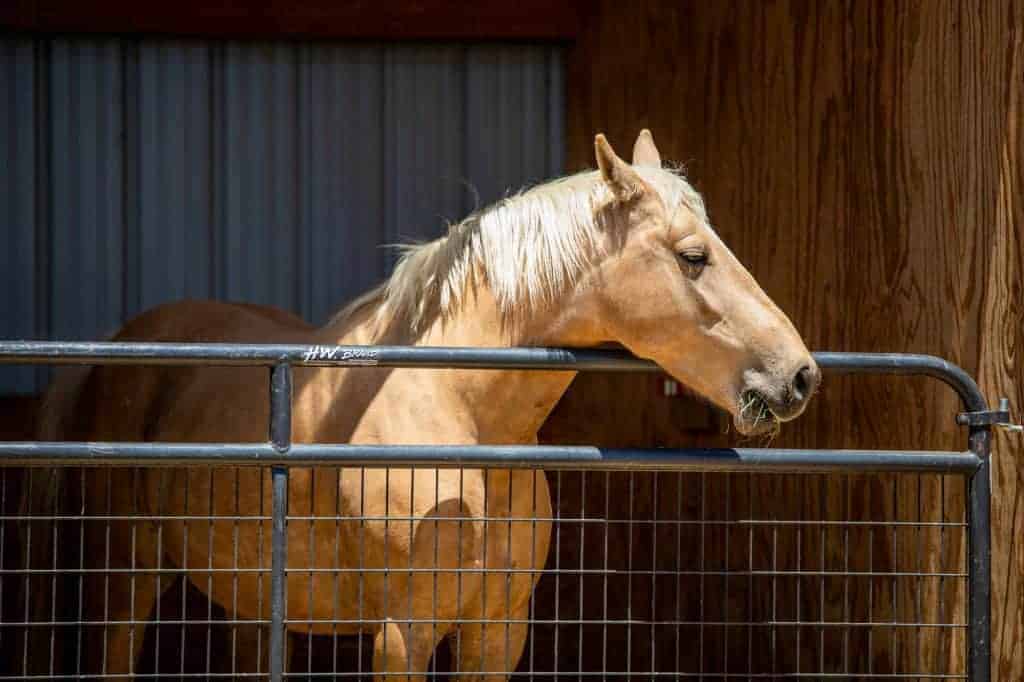
If you want a resident to “stand out” in the footage and have the rest of the background fade away in a pleasing out of focus effect, you’ll need a lens that has a big enough aperture (and allow aperture control settings) to give a satisfyingly shallow depth of field (though as mentioned in focus, above, you will then have to be extra careful about getting the resident well-focused!).
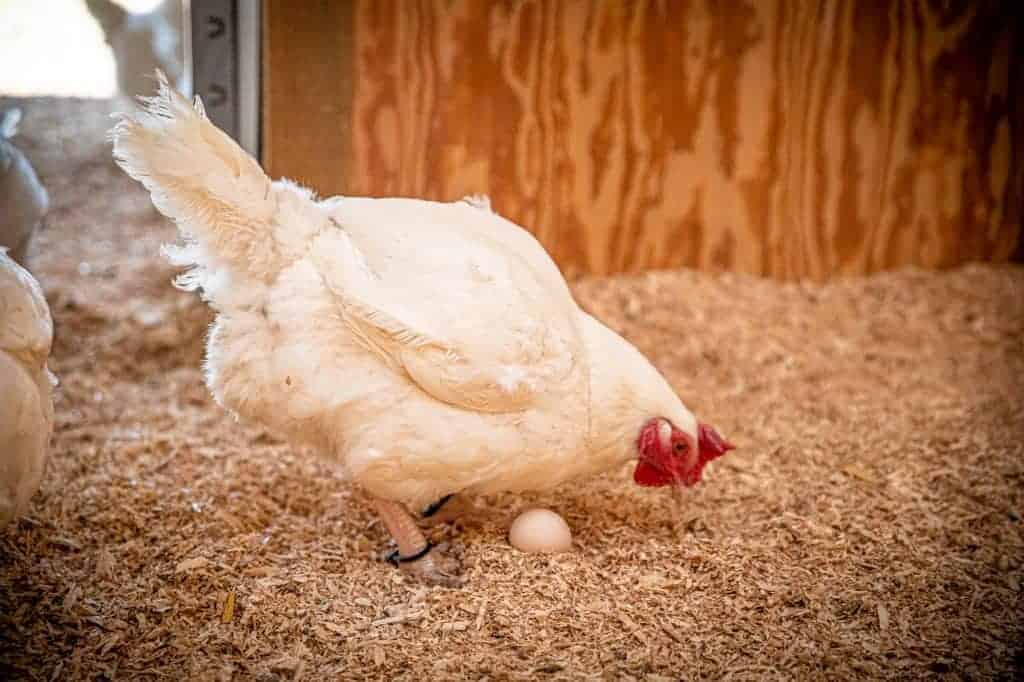
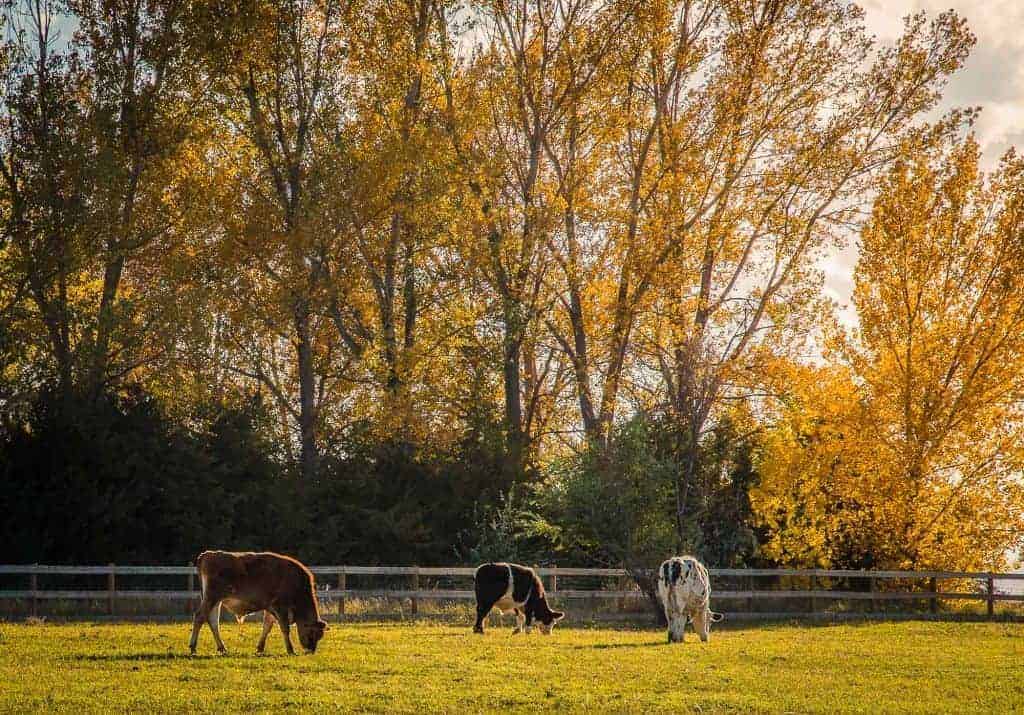
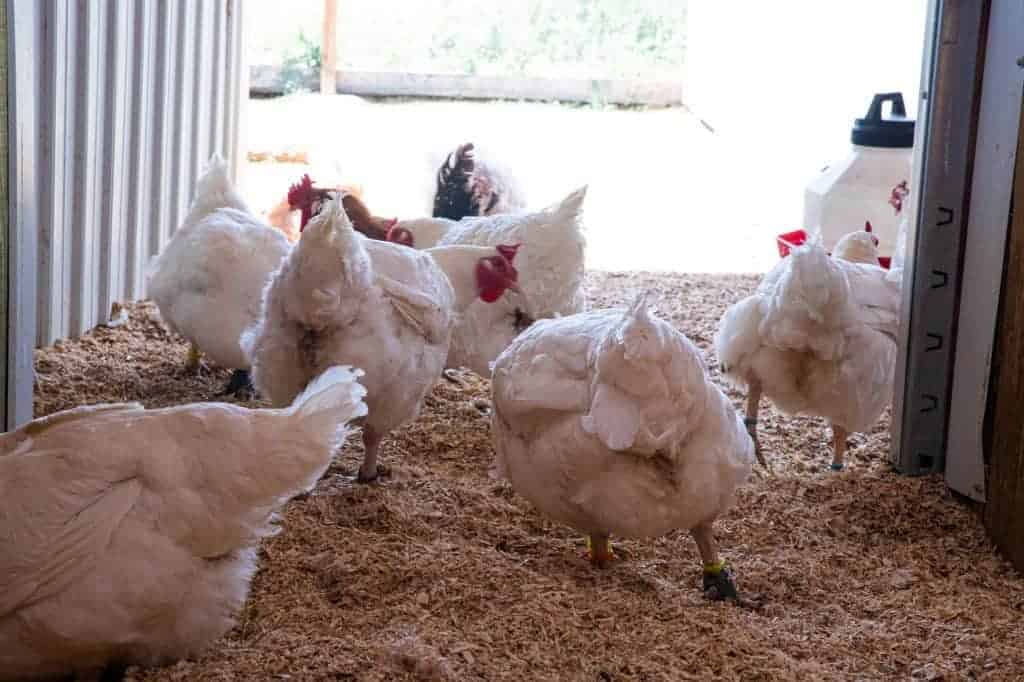
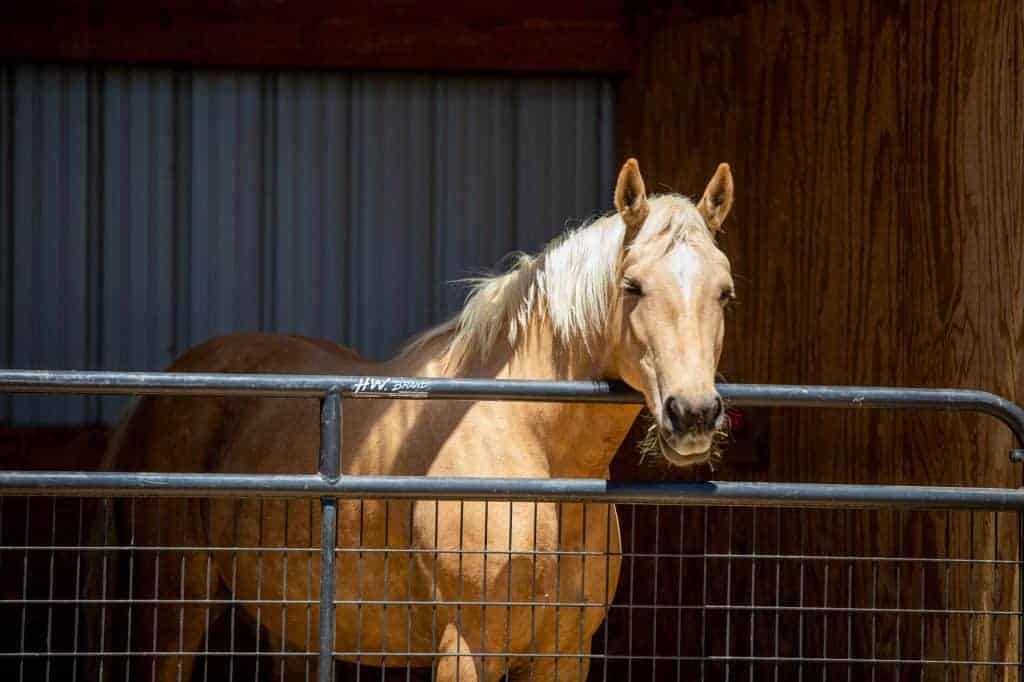
How’s The Light?
Typically, a camera will take more clear photos with more light, but there are always trade-offs with regards to the quality and intensity of light in photographs. Shooting in mid-afternoon sunlight (especially if shooting towards a bright light source like the Sun) can make for harsher-looking photos, usually with an unsatisfying-looking sky than the softer diffusion of photos taken earlier in the morning, on a cloudier day, or before sunset (sometimes referred to as “magic hour” by photographers). While sanctuaries don’t always have the luxury of deciding when to take pictures, think about scheduling photo or video capture time for when the light may be more in your aesthetic favor if possible.
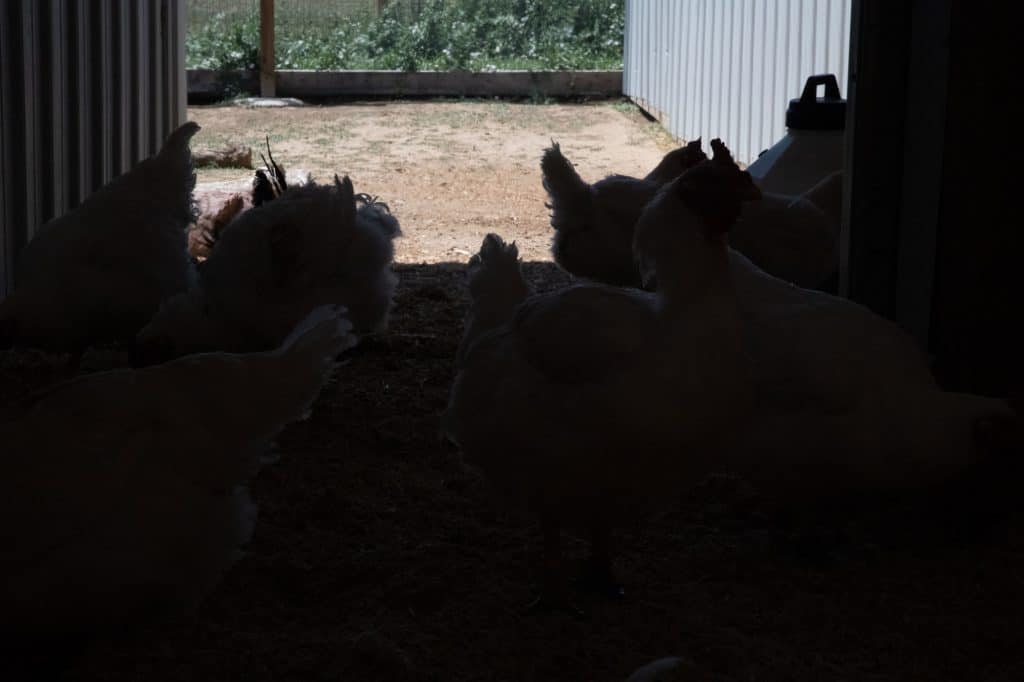
When shooting inside a living spaceThe indoor or outdoor area where an animal resident lives, eats, and rests., you may need to add an additional light source to take a nice looking photo or video without it becoming too grainy or distracting.
Also note that if you’re shooting in an area that has vastly different lighting sources (such as shooting both the inside of a living space and out into a sunny day), you will likely run into unpleasant exposure issues, and it’s best to stick with photographing in one major source of light in a photo at a time!
Equipment Considerations
You don’t need to spend thousands of dollars to take great-looking photos and videos at your animal sanctuary; even relatively affordable cameras and even somewhat recent camera phones are more than enough for great looking content! Telling a strong story and taking compelling photographs doesn’t require much beyond the basics mentioned above with modest equipment.
If you’re looking for an affordable upgrade beyond what a camera phone can accomplish, we would recommend finding a gently used entry-level DSLR or mirrorless camera (such as the Canon Rebel series, the Panasonic Lumix series, the Sony Alpha series, or the introductory line of many other camera brands) that use interchangeable lenses. There are many on the market, and you can borrow, rent, or purchase new lenses and attachments later on rather than being stuck with a fixed lens and having to eventually purchase a new camera altogether. For instance, any recent DSLR or mirrorless camera (within five years of age or so) can be paired with a telephoto lens (such as the common 100-300mm equivalent zoom range) to take stunning close-up photo and videos of residents without needing to get too close physically and disrupting their activities for a photo opportunity.
Maximize Image Quality When Shooting
When shooting photos and videos, we would recommend shooting in the highest quality setting on the camera possible (such as RAW photographs or Full HD 1920×1080 video or higher), and storing these files safely on a dedicated hard drive or private website (with some sort of safe backup, such as a second hard drive, just in case). Although the bigger files may seem excessively large for your purposes in the moment, storage is getting cheaper each year, and there may come a time when you wish to return to something you shot years ago. In moments like that, you’ll be very grateful you gave yourself more resolution to come back to! Shooting in smaller formats may save a nominal amount of space in the short term, but will mean that it is very difficult to gain back the lost quality later.

Audio
If making a video, It may seem like the picture is the star of the show, but if you’re sharing a video that has an important audio component to get the full effect of the video (such as someone speaking), it’s crucial to ensure that the audio is clear! Studies have found that people are more willing to tolerate poor video quality than poor audio quality, and will not likely tolerate unpleasant sounds. An affordable microphone (especially one with a windscreen if recording outdoors) can easily be paired with most cameras (including phone cameras) to drastically improve audio quality compared to the rudimentary built-in microphones. The volume of the video should be set so that folks can understand the audio without having to drastically change the volume of their device- this typically isn’t an issue if you let a camera automatically set the audio recording level, but sometimes things end up excessively loud or quiet even on an automatic setting. If you’re stuck with audio that isn’t top quality, it can help to subtitle the video to help audiences decipher what is being said, or remove the original audio entirely and record a separate voice-over track and inserting it into the video for clarity’s sake.
Practice, Practice, Practice
If you’re new to shooting photos or video, one of the biggest tips we can offer is to keep at it, even if it feels like your photos lack the visual “pop” you were hoping for. In the digital age, there’s no penalty for taking many pictures (and nobody will know how many photos you deleted to get the perfect shot!). We’d recommend trying out new framing, new ideas, new camera settings, and seeing how it turns out. The more you shoot and become familiar with the tools and principles of effective image capture, the more satisfying the results will turn out.
Find Some Volunteers
If it feels too overwhelming to prioritize camera time along with everything else you need to get done at a sanctuary, it’s completely normal to ask for help in this department! It is highly likely that you or someone involved with your organization knows someone skilled with a camera who would be happy to take some photographs (or possibly even high quality video) of your residents as a volunteer service. Sanctuaries around the world have benefited by skilled artists who can help create beautiful imagery to tell their story.
If they aren’t familiar with sanctuary operations and what your organization is all about, they should be thoroughly briefed (or accompanied by a staff member or experienced volunteer) so everyone involved has a pleasant and safe time.
If working with a volunteer photographer or videographer who isn’t familiar with your sanctuary, don’t assume that they’ll know how to get the most compelling or representative media of your residents! Often, those who provide daily care have unique insights on what makes each resident special. Caregivers can help provide ideas and perspective on what photographers can then use their skills and tools to beautifully capture, rather than leaving a photographer to unintentionally capture photos that may feel uninspired or oddly staged due to a lack of guidance.
Sharing Photos & Videos
So you’ve taken some great photos or compelling videos of your residents- now it’s time to think about skillfully sharing your content! While some of these concepts may feel fairly abstract or more advanced than simply pointing a camera phone at a llama resident and clicking “share”, starting to critically consider the following can help guide your long-term digital media strategies in a variety of ways!
Think About Effective Storytelling
Every time you share a photo or a video, it can be valuable to think about it as a story: What do you want to relay to your audience about a sanctuary resident? Is it a friendship they’ve developed with another resident? Opening up after being more timid around caregivers? Healing progress from past trauma? Humans tend to connect more with context-driven stories, rather than disconnected media that doesn’t further the narrative of your sanctuary’s successes and challenges. Most social media platforms allow for the text captioning of photos and videos, and this is an important place to provide context skillfully and responsibly, especially if the context isn’t readily understandable by looking at the photo or video.
While not every photo and video needs to definitively tell a story (after all, sometimes things are just cute, funny, or heartwarming, which has value in itself!), it’s important to always think about what the photos and videos you share cumulatively say about your organization. What makes your organization and the stories of your residents unique? What do you want your audience to feel when looking through a selection of media? Inspiration? Relaxation? Hope? Will the stories you wish to convey contribute to those feelings?
Who Is The Story About?
Whenever you are thinking about crafting a visual story to share with an audience, it’s important to think about who’s being centered in the narrative. If your stories, pictures, and videos frequently center humans in the sanctuary’s management and their experiences more often than the experiences of the residents at the sanctuary, we would ask that you consider refocusing your media efforts- while narratives about humans can help foster connections and contextualize certain events, a sanctuary’s focus should typically be on its residents, their stories, and what makes them a special part of your organization, rather than putting more effort creating a narrative about the humans helping the residents.
If you do occasionally include humans as a part of your sanctuary’s storytelling to contextualize the residents’ stories, think about how you can include more diversity of voices in your media- are there some special volunteers or staff members that rarely get the spotlight who have a special connection to a certain resident? It often takes a village to keep a sanctuary going, and it’s nice to highlight the efforts of those who do the work day in and day out to supporters!
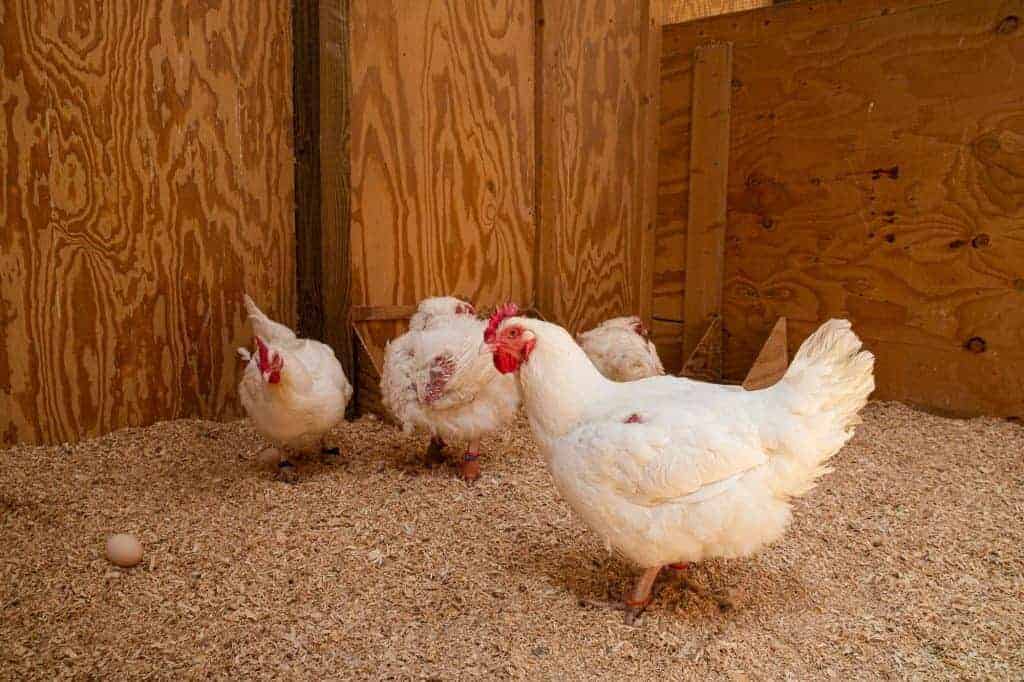
Consider How Often Certain Residents Get Filmed
When deciding which residents at your sanctuary to take photos and videos of, try to consider whether you’re evenly showcasing residents. While some residents at sanctuaries will likely be more amenable to photos and video, it’s important to use your platform to uplift more residents than fewer. If certain residents don’t get the spotlight as often, try to give them their own special update to demonstrate your equal commitment to all sanctuary residents.
Individuals Vs Statistics
When talking about individuals who have been rescued from concerning situations, often sanctuaries wish to include educational aspects to social media to help protect future animals from similar conditions. While statistics and facts about the plight of animals can be effective educational tools, it can be more effective to frame these facts through the stories of individual residents, what they’ve been through, and the care that they deserve. Just as with ambassador residents during sanctuary tours, photos and videos conveying the individualism of residents can help build a stronger connection to audiences than numbers alone.
Video Duration
Unless you’re live-streaming a specific event or providing a full recap of a happening that an audience is specifically seeking out, we’d highly recommend keeping videos as brief as possible. Typically, the longer a video is, the fewer audience members will watch the entire thing! We would recommend trying to keep video posts under 5 minutes (and aim for 2 minutes or less, ideally). This might seem challenging at first, but with some editing and persistence, you’ll find that most videos have moments to cut without significant negative effect to the overall story. Just like taking great photos or video, editing is a skill in itself that requires practice and persistence!
Unsure Of How A Video Will Be Received? Show It To A Friend (Or Five)!
If you’re new to making videos, it can sometimes be daunting to go through the whole process of conceptualizing, filming, and editing. Before posting a completed video, it can be valuable to show it to some trusted friends and colleagues who can provide honest feedback about what worked well and what can be improved. There will likely be some notes that you agree with, and some things that you would rather not change. One way to figure out whether it’s something worth changing regardless would be to gather notes from many individuals independently and look for trends in the feedback. If only one out of six people tells you a video is too long, this may be a personal preference. If all six do, you might want to start looking for ways to shorten it!
Sometimes individuals providing feedback for a friend may feel disinclined to provide constructive critique out of a worry that they’ll come off as too negative. One way to get past this is to specifically ask for both positive and negative feedback prior to showing the video. Even better is to ask for a specific amount of feedback (say, three things they liked and three things they think could be improved about the video). Not only will this empower a viewer to be more honest, but it can help each reviewer dig deeper and provide you with a more clear picture of any concerns to think about before releasing a video to the public.
Consider Captioning Your Videos
Although it can add extra time (and will require a little bit of education in either using video editing software or an online captioning service), adding captions to all your videos is a highly valuable endeavor. Captions can help anyone who cannot or will not hear the audio portion of your video for any reason, and improve the general accessibility of your media for everyone.
Responsible Sharing
Whenever an animal sanctuary shares media (and accompanying commentary), it’s highly important to consider the responsibilities inherent in this act. Sanctuaries must think carefully about the truthfulness of what they share and what they choose to provide future updates about (and whether omissions of certain facts are a responsible choice).
For more information about this important topic, check out our resource on Accuracy And Transparency for animal sanctuaries.
We hope this resource has gotten you inspired to start thinking of taking the best photos and videos possible at your sanctuary! Have you taken some beautiful images of your sanctuary and residents you’d like to showcase to sanctuaries and compassionate caregivers worldwide? Share them with us! We love sharing credited sanctuary photos to help demonstrate best practices at sanctuaries and to show our audience all the amazing care for animals taking place worldwide!