


When signing in visitors to your sanctuary, wouldn’t it be nice if you could ensure that everybody has signed your waiver and has been given an opportunity to sign up for your newsletter? Wouldn’t it be doubly nice if that information could be stored in an easily accessible, easy to backup place? Great news! You can do that right now with this free resource!
This system utilizes Google Forms, Google Drive, and Google Sheets to easily and securely capture visitor sign-ins on any internet-connected device.
Why Does My Organization Need This?
Check out our resource here to learn more about the importance of having a waiver and release of liability document for your sanctuary’s visitors!
If you’d rather have a less fancy, paper-based version of the waiver (or want to have it on hand as a backup), check out our resource here!
How To Set Up This Sign-In System
Make A Copy
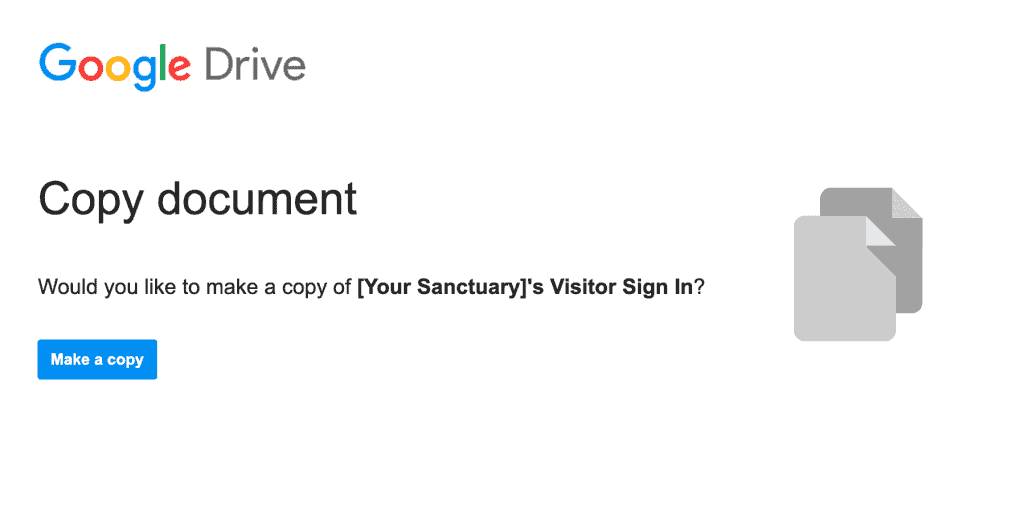
To employ this sign-in for your sanctuary, first click here to make a secure copy of the system for your organization. Don’t worry! We won’t have any access to your unique sign-in system! Make sure to add it to your organization’s Google Drive so it’s easily accessible, if you have a free Google account for your sanctuary.
Modify For Your Needs
Replace all instances of [Your Sanctuary] with your organization’s name. You can also change the header image and theme with your sanctuary’s name or logo.
From there, check out what the form does and make any necessary changes for your use. The form is currently set up to:
- Display an accident waiver and release of liability for review
- Display a photo and video release waiver for review
- Allow an adult to accept and “e-sign” the waiver
- Optionally accept an email address for those interested in joining a newsletter (emails will be listed in the spreadsheet, see below)
- Optionally allow a guardian to sign-in up to 5 additional minors
Link A Spreadsheet
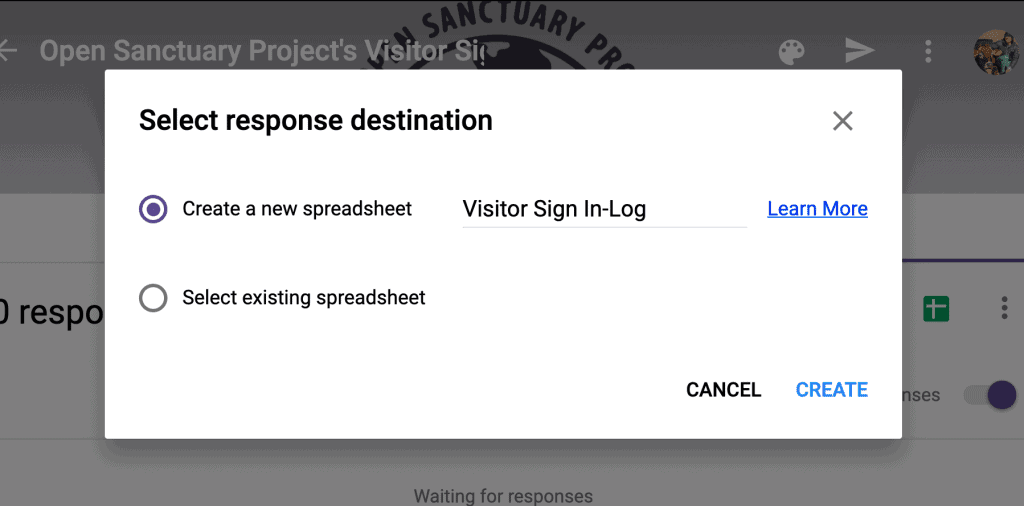
You can either use the form’s editing link (which you are currently working in), or go directly to your Google Drive, to access the linked spreadsheet.
Check Your Display Settings
In order for the system to properly function without issues cropping up, you’ll have to ensure that a few settings are properly set up. Go into the settings of the form (under the ⋮ symbol, next to the circle on the top right), and check the following:
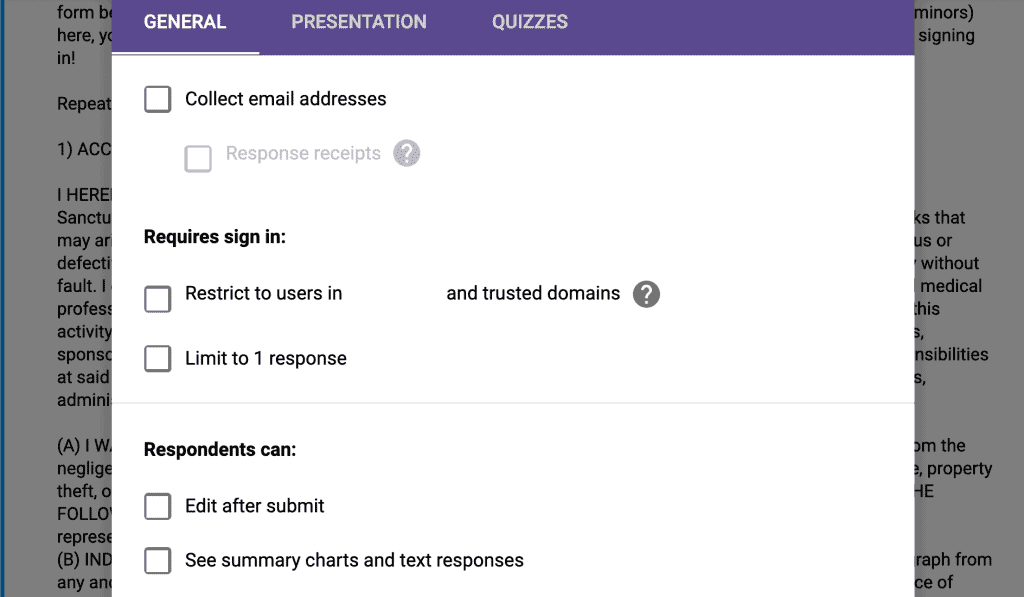
Under the “GENERAL” tab, uncheck every single checkbox that can be checked
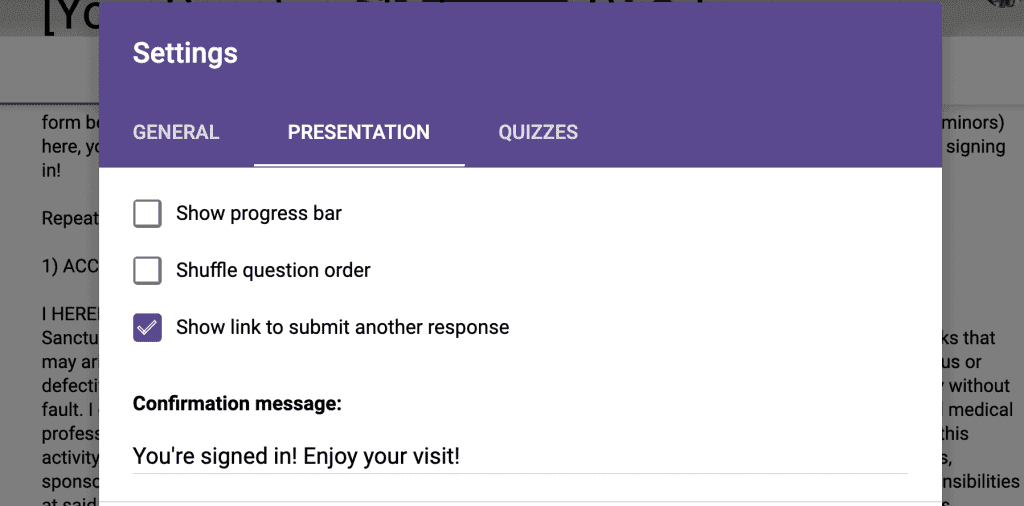
Under the “PRESENTATION” tab, ensure that “Show link to submit another response” is checked, and come up with a custom confirmation message that will appear when a form is submitted, if you don’t like the one provided
Deploying The System
Once you have the internals of the system up and running, all you need to do is display it on an internet-connected device (or a number of devices!) and allow visitors to start using it!
In order to display the actual sign-in form itself and not the “editing” version of it, there are a few steps to take:
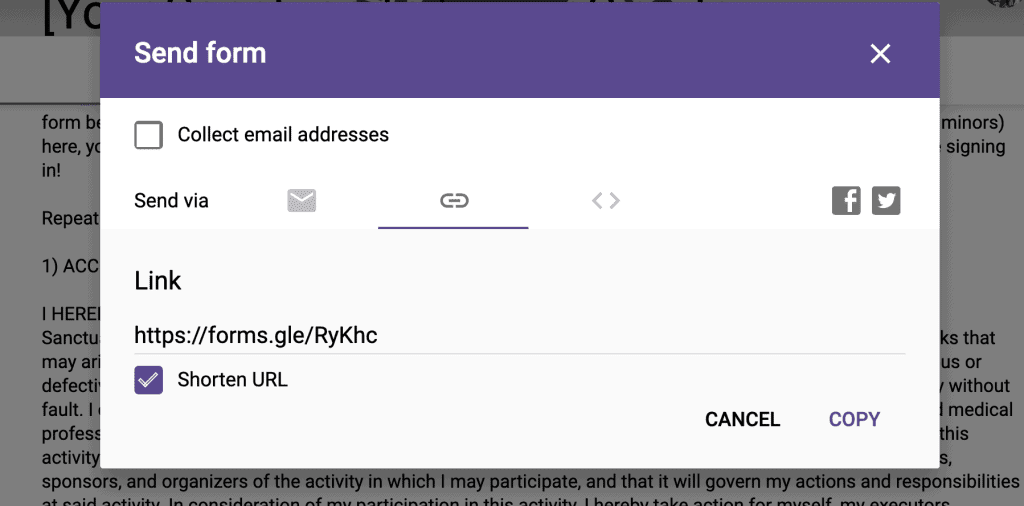
- Go to the “Send form” button (represented as a triangle paper airplane next to the ⋮ symbol)
- Go to the Link option (see the screen capture above if confused), and copy the link provided. You can click “Shorten URL” to make it a more manageable size. Save this link (maybe email it to yourself)- it will be the link you go to in order to setup a sign-in system in whenever and wherever you need to. If you need to edit the form, find the purple Google Form document in your Google Drive (or save the current URL you’re at while editing the Form)
As long as you’ve set up the form using the above steps, pasting the copied URL into any internet-connected browser will open up the system for anyone to use. For a more streamlined appearance, you can put your browser into Fullscreen mode (such as by pressing F11 on a Windows computer), which will show the sign-in system without any additional clutter or any easy way to leave the page.
After signing in, if the system was set up correctly, there should be a link to submit a sign-in for the next visitor in line. If you’re hosting a large event, you can create a sign-in area with multiple devices all set to the same link to expedite the process. Just make sure your sanctuary’s internet connection can handle all of the simultaneous traffic you need it to before the event!
Let Us Know How It Goes!
If you’re employing this system at your sanctuary, we’d love to hear it! Let us know how the experience has been and whether you have any questions. We love hearing from sanctuaries!


